Skip to content
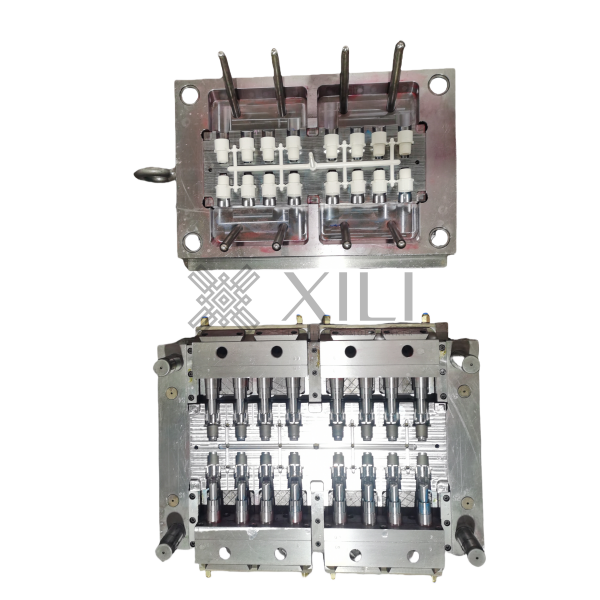
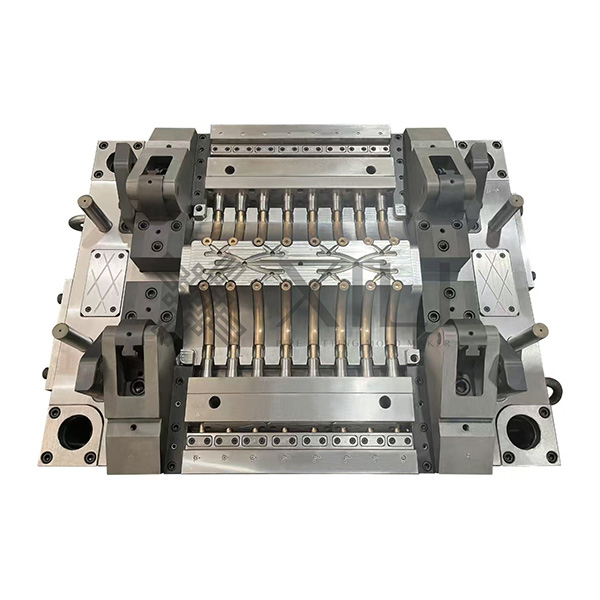
 Assembling a mold on an injection molding machine is a crucial step to ensure smooth production and high-quality molded plastic products. Proper mold installation guarantees accurate alignment, efficient operation, and product consistency. Here are the key steps to install a mold on the injection molding machine:
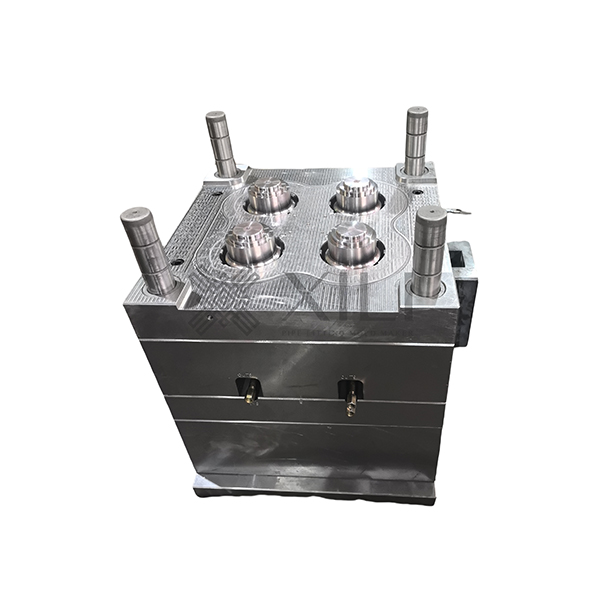
Prepare the Mold and Machine
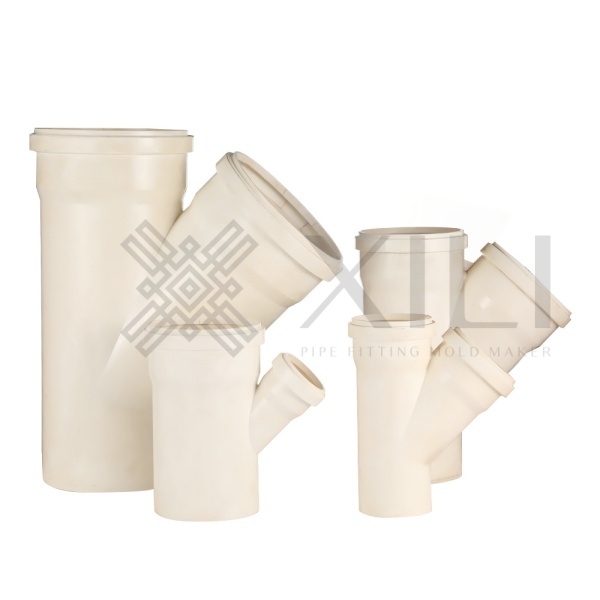
Ensure the mold is clean, free of debris, and properly lubricated. Check that the injection molding machine is in good working condition. Review the mold design and machine specifications to confirm compatibility.
Position the Mold
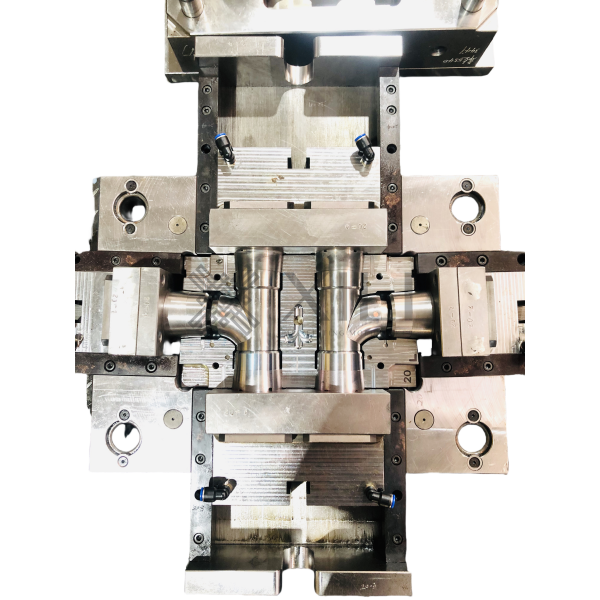
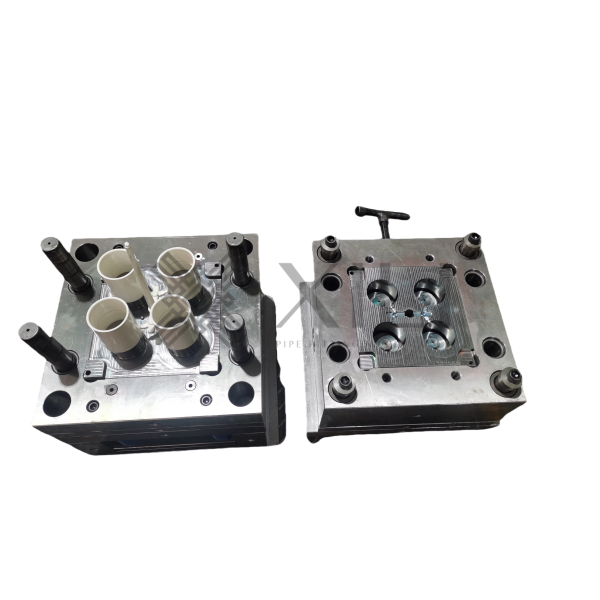
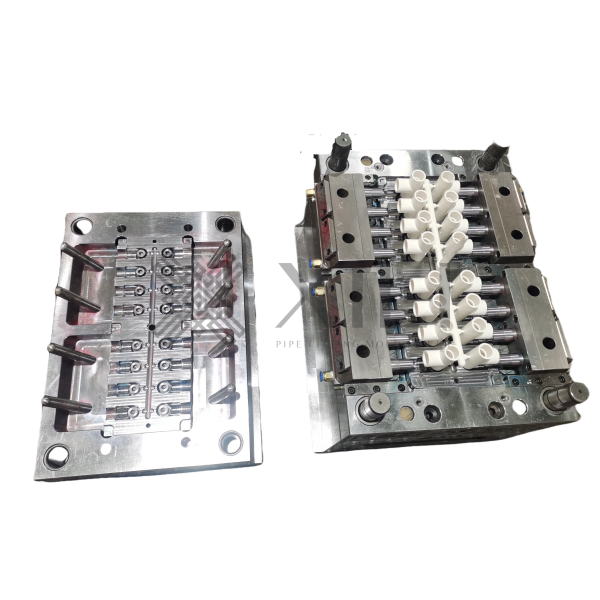
Align the mold with the machine’s platen. Use a crane or lifting equipment. Carefully position the mold onto the stationary platen.
Secure the Mold
Fasten the mold securely using clamping bolts. Ensure the mold is evenly and tightly clamped to avoid misalignment. Double-check that all clamping elements are properly tightened.
Connect Cooling and Ejector Systems
Attach the mold’s cooling lines to the machine’s water supply system. Ensure proper flow for temperature control. Connect the ejector system to the machine’s ejector pins plate for smooth product ejection.
Adjust the Machine Settings
Set the mold height and adjust the clamping force according to the mold requirements. Ensure proper alignment of the nozzle with the mold’s injection point.
Perform a Trial Run
Run a test cycle to check for proper mold function. Monitor the mold alignment, injection pressure, and cooling performance. Make adjustments if necessary.
Following these steps ensures the mold is installed correctly on the injection molding machine, promoting efficiency, product quality, and machine longevity.